> ## Documentation Index
> Fetch the complete documentation index at: https://help.smile.io/llms.txt
> Use this file to discover all available pages before exploring further.
# Add images to customer emails
> How to add branding to customer emails with logo and banner images
Sending email notifications to your customers is a great way to encourage program engagement by reminding your customers of the value they've earned as part of your program. Adding your logo or a custom banner image to your email notifications will ensure every message integrates seamlessly with the rest of your program branding.
## How to add your logo
You can add your logo to email notifications in the Settings > Branding > [Email](https://app.smile.io/settings/branding/email) area in your Smile Admin.
Simply drag and drop your logo into the upload area or upload it directly from your computer and click **Save**.
Here's an example of an email with a logo applied.
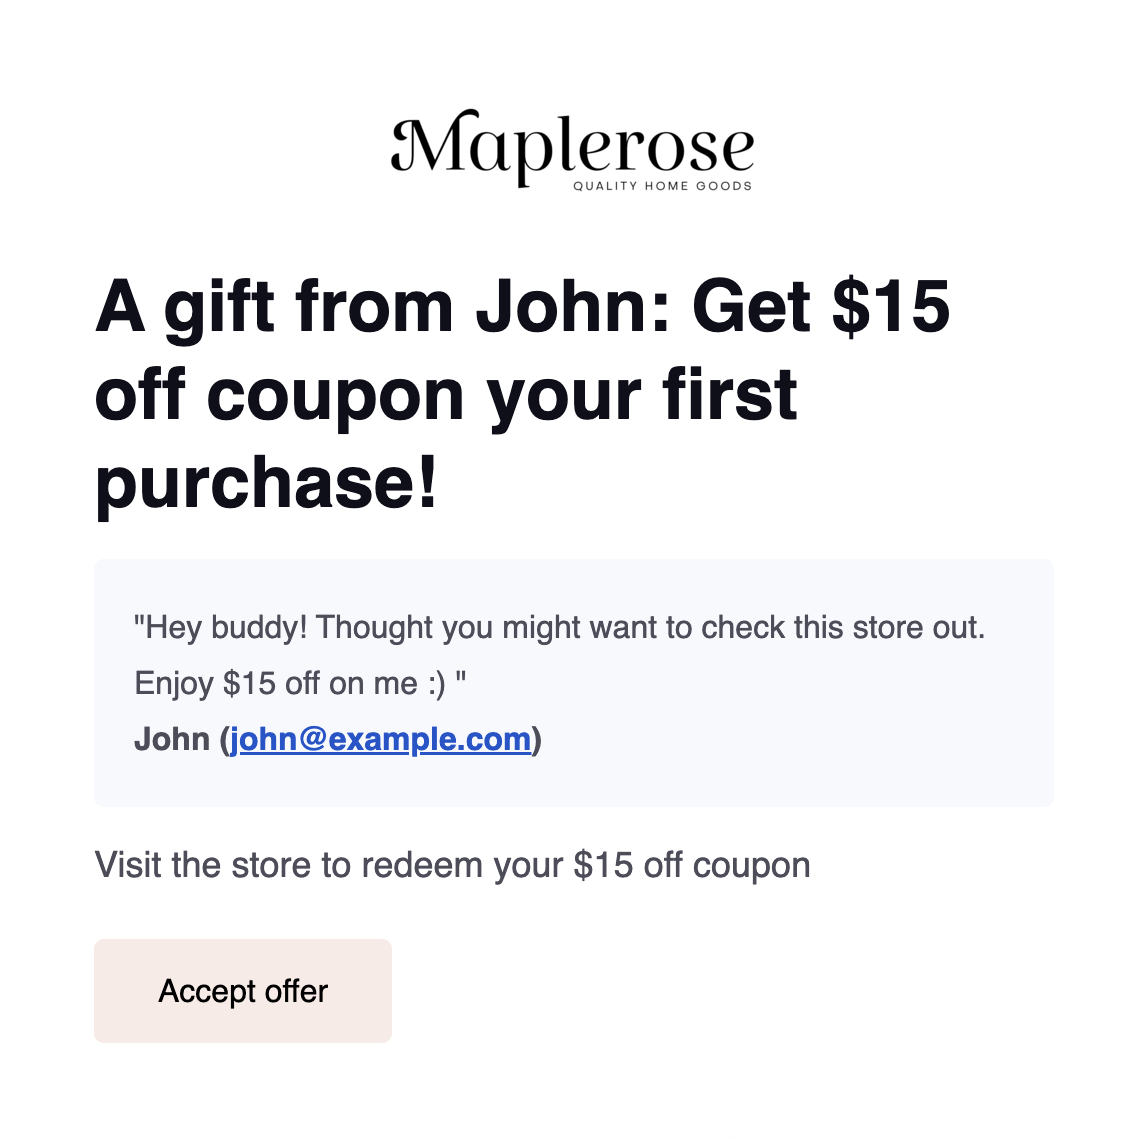 Once you've successfully added your logo, it will automatically be applied to all of your email templates. Your logo will also link customers back to your store URL.
**Recommended image size: Up to 400 x 144 px**
**Recommended file type: .PNG or .JPEG**
**Tip:** Check out what your changes will look like on mobile and desktop in the Preview area before you save them. This area will update automatically as you apply changes to your email theme.
## How to add a banner image
You can make your email notifications even more delightful by adding a custom banner image to each of the notifications in your Smile Admin.
To add a custom banner image to an email template, select the template you'd like to add the image to from the Notifications area.
Then drag and drop your banner image into the upload area or upload it directly from your computer and click **Save**.
Here's an example of an email with a logo and a banner image applied.
Once you've successfully added your logo, it will automatically be applied to all of your email templates. Your logo will also link customers back to your store URL.
**Recommended image size: Up to 400 x 144 px**
**Recommended file type: .PNG or .JPEG**
**Tip:** Check out what your changes will look like on mobile and desktop in the Preview area before you save them. This area will update automatically as you apply changes to your email theme.
## How to add a banner image
You can make your email notifications even more delightful by adding a custom banner image to each of the notifications in your Smile Admin.
To add a custom banner image to an email template, select the template you'd like to add the image to from the Notifications area.
Then drag and drop your banner image into the upload area or upload it directly from your computer and click **Save**.
Here's an example of an email with a logo and a banner image applied.
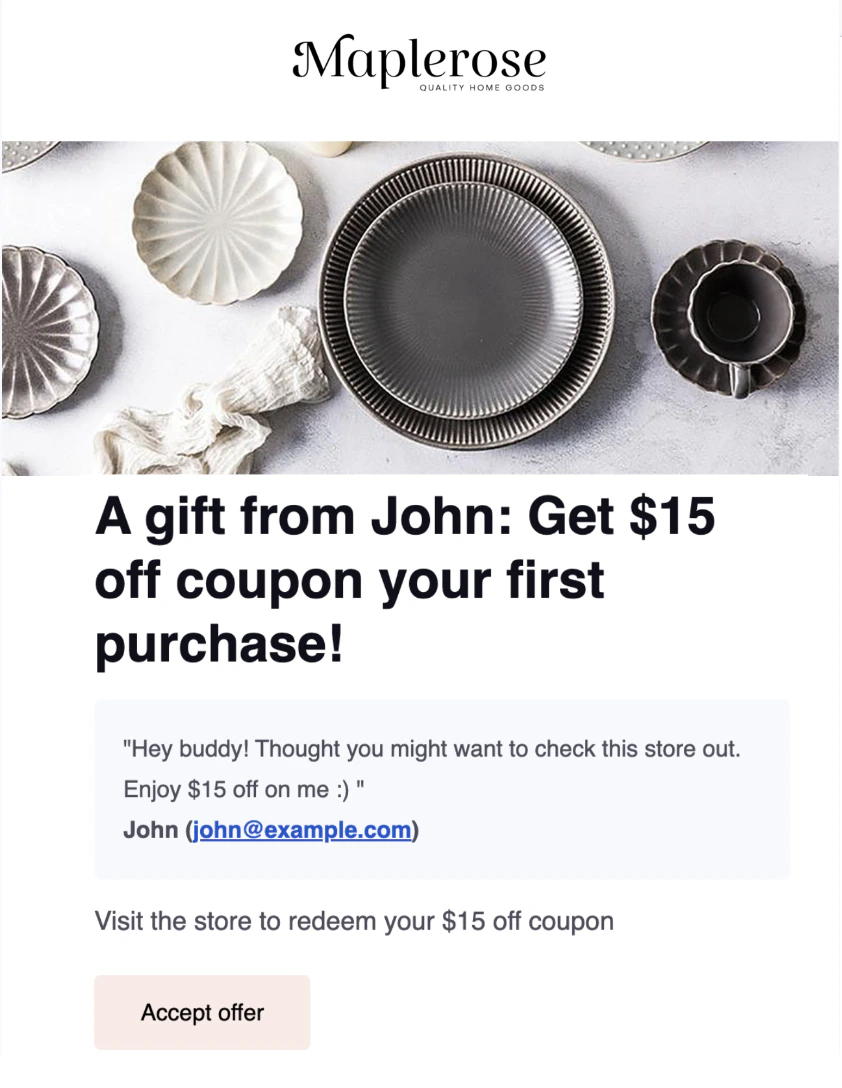 Once you've saved your changes, any email notifications that are sent using this template will include your new banner image.
**Recommended image size: 1200 x 480 px (Note: all images will be scaled and/or cropped to 1200 x 480 once uploaded)**
**Recommended file type: .PNG or .JPEG**
**Note**: When a free product reward is displayed in an email, the product image is a fixed size set by the email template and cannot be customized or resized in Smile Admin.
Once you've saved your changes, any email notifications that are sent using this template will include your new banner image.
**Recommended image size: 1200 x 480 px (Note: all images will be scaled and/or cropped to 1200 x 480 once uploaded)**
**Recommended file type: .PNG or .JPEG**
**Note**: When a free product reward is displayed in an email, the product image is a fixed size set by the email template and cannot be customized or resized in Smile Admin.