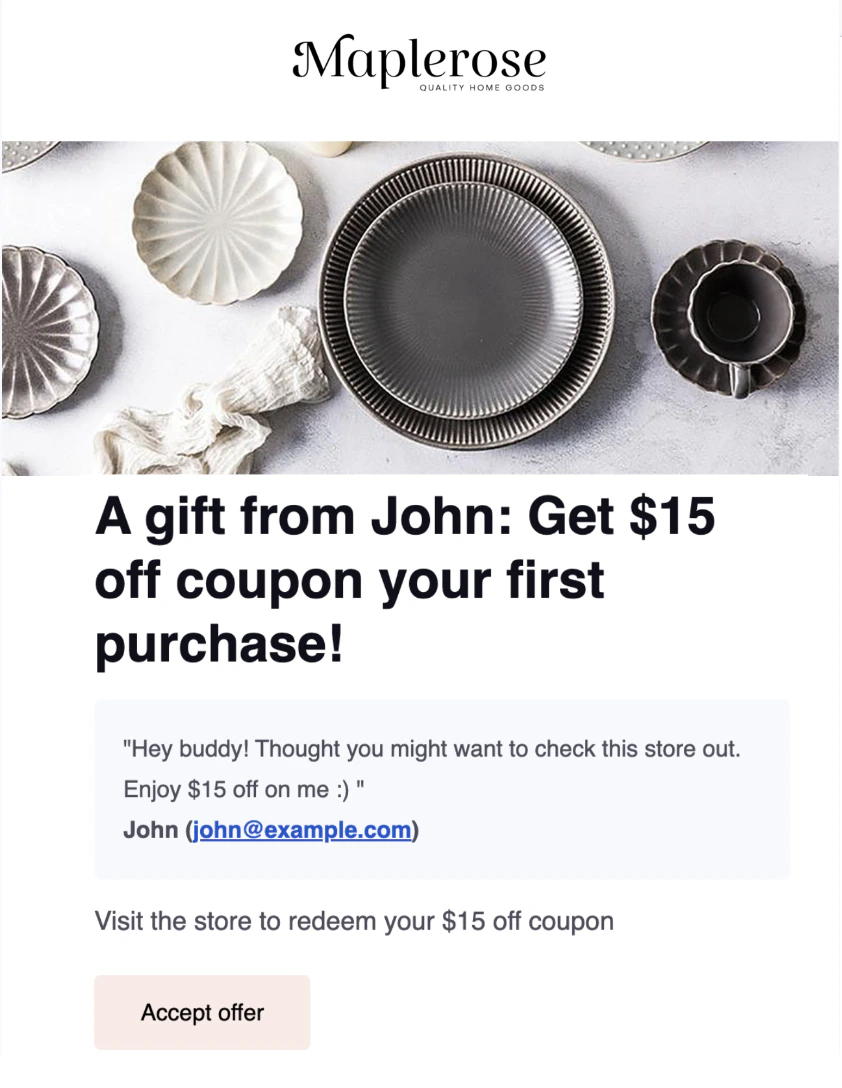
Add your logo
To add a logo that’s used across all customer emails:- In Smile Admin, go to Settings > Branding > Email.
- Drag and drop your logo into the upload area, or upload it from your computer.
- Click Save.
- Your logo is automatically added to all customer email templates.
- Clicking the logo in an email takes customers to your store URL.

Add a banner image
Banner images are configured separately for each customer email template. To add a banner image:- In Smile Admin, go to Settings > Customer Emails.
- Select the email you want to customize.
- Upload your banner image.
- Click Save.
Note: When a free product reward appears in a customer email, the product image uses a fixed size defined by the email template. It can’t be resized or customized in Smile Admin.